Start on wet, detangled hair; apply product; brush in sections; coil, clip, and set.
If you want springy, defined curls without frizz, this guide is for you. I’ve coached hundreds of clients on How To Use A Curl Defining Brush Properly. In this step-by-step primer, I share proven methods, pro tricks, and real-world fixes so you can style faster, get lasting shape, and love your natural texture.
What a Curl Defining Brush Is (And Why It Works)
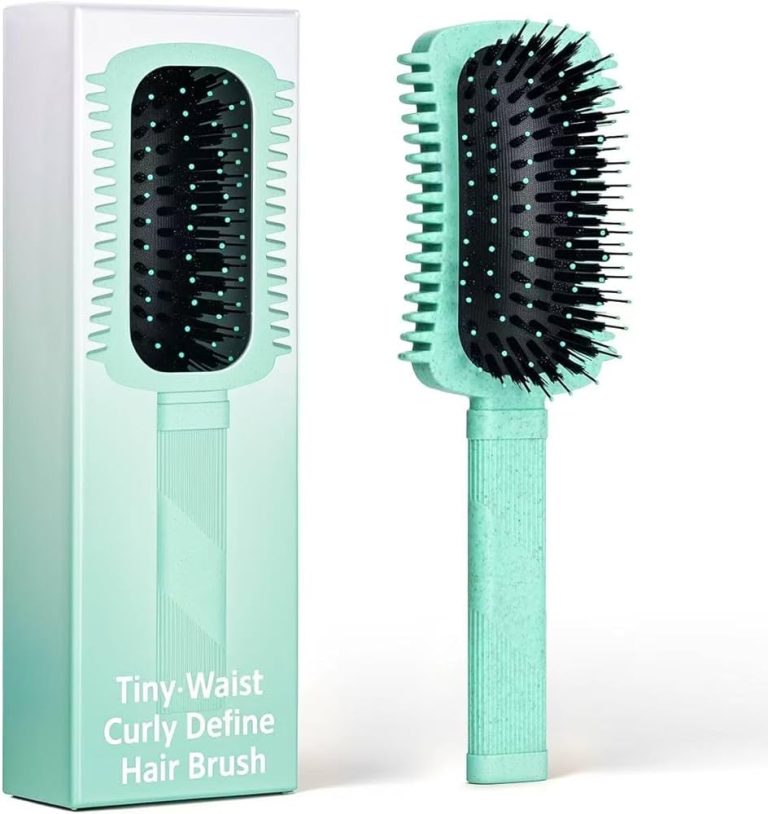
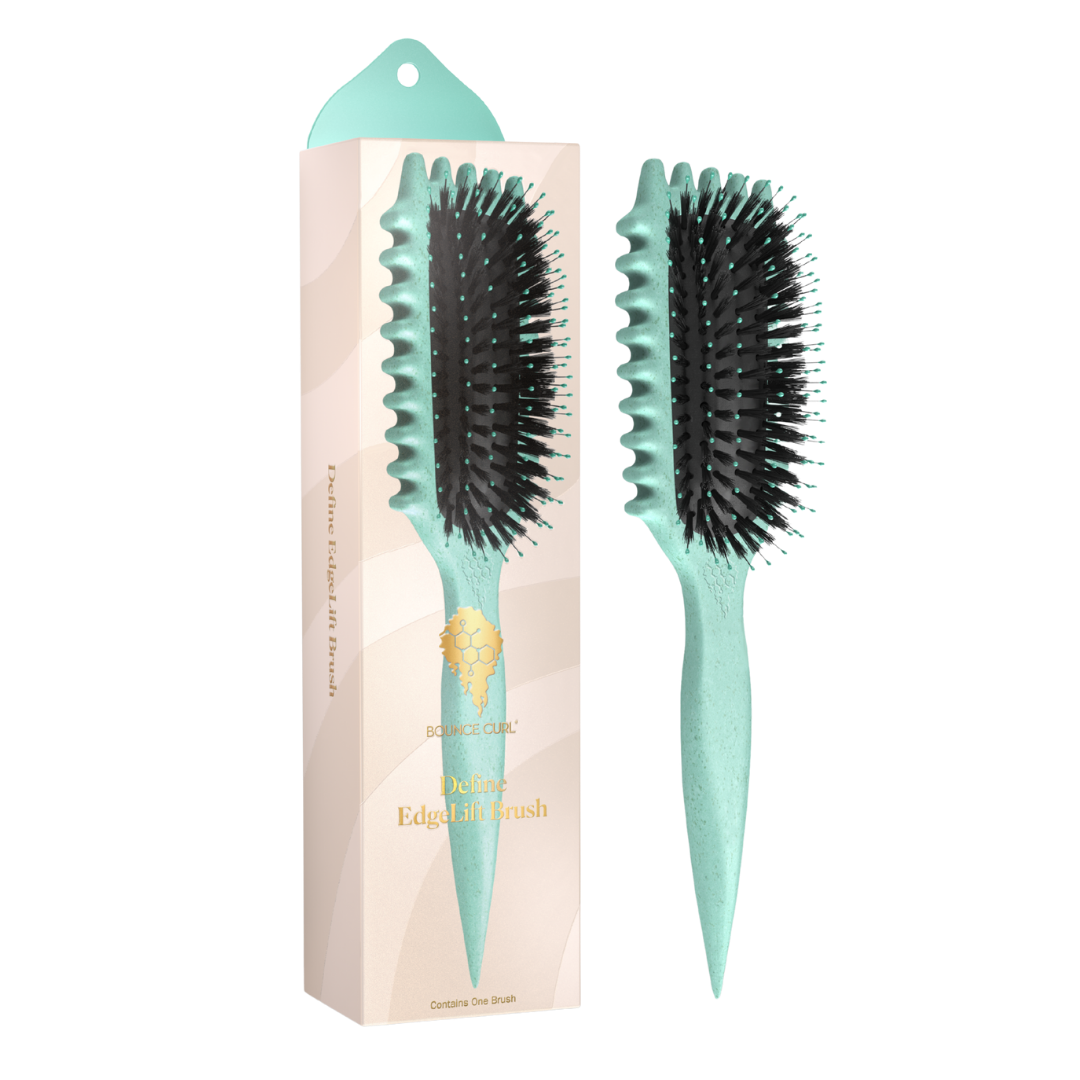
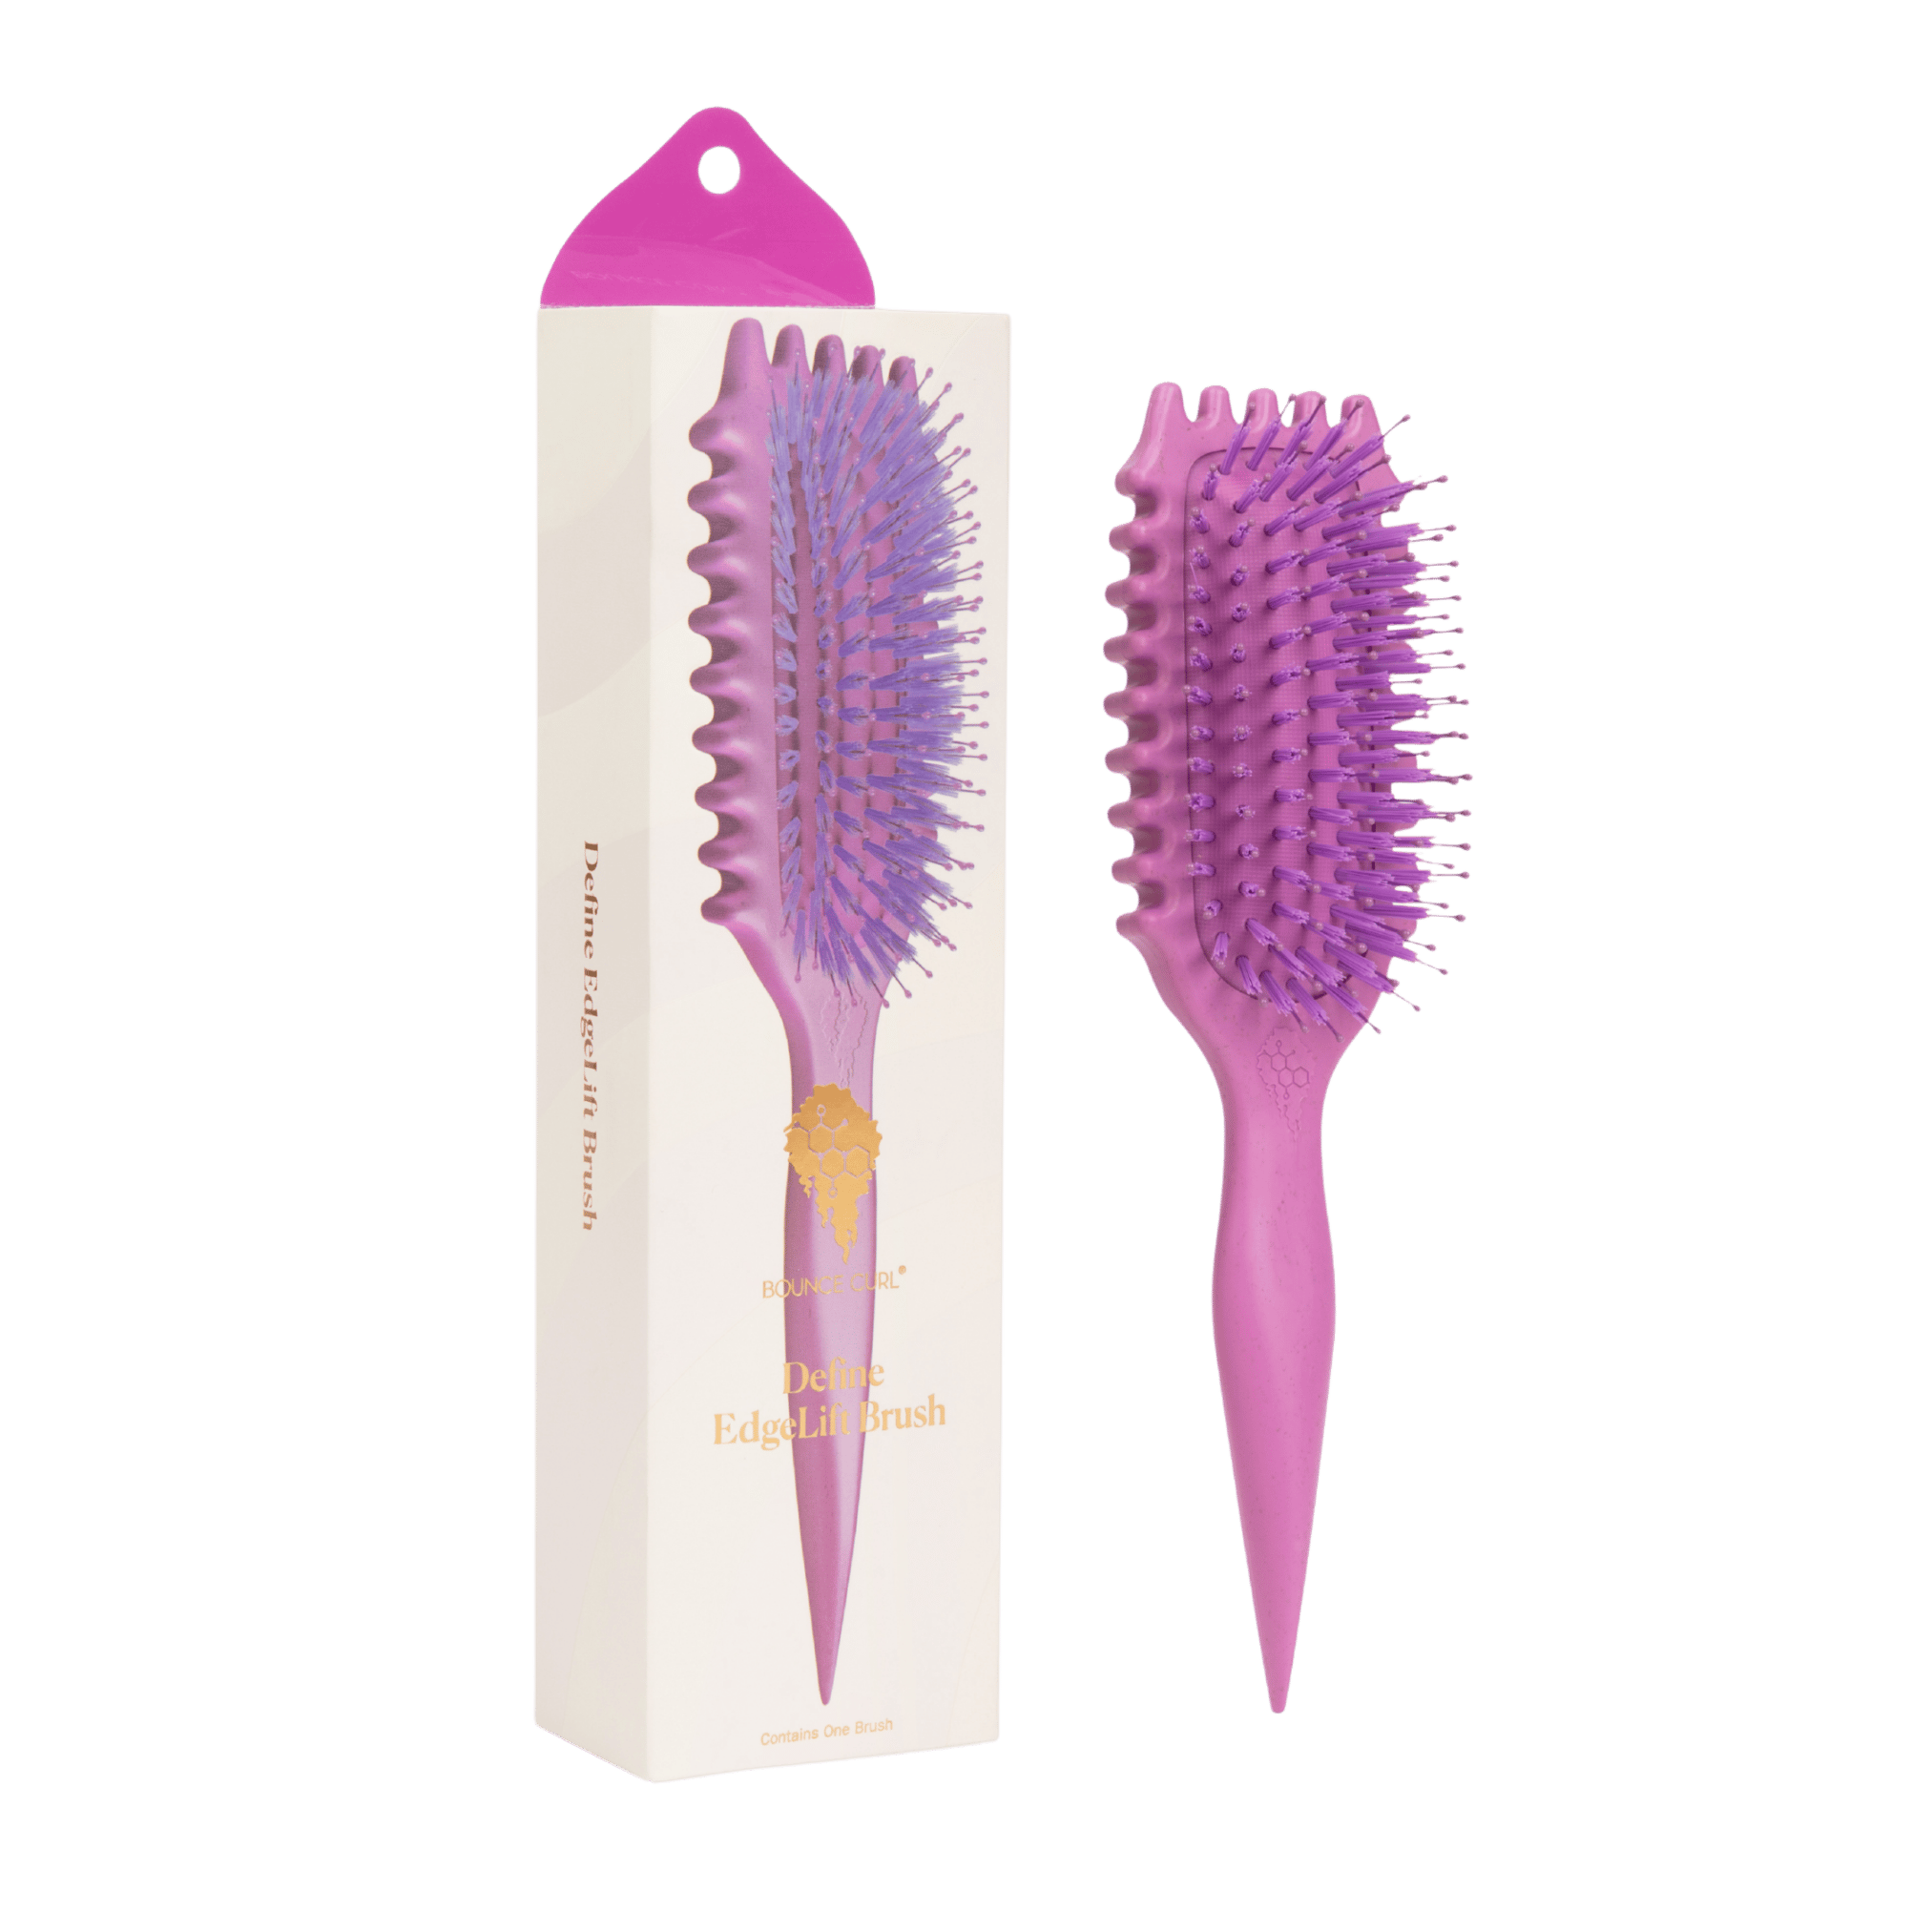
A curl defining brush is a styling brush that helps group hair into uniform clumps. It smooths the cuticle, spreads product, and shapes curl paths so waves, curls, and coils set with less frizz.
Most versions have flexible rows and rounded or half-rounded bristles. The spacing helps gather hair into ribbons. The rounded base creates tension and bend. That combo sets the curl pattern as the hair dries.
When used right, it saves time. You use fewer passes. You use less product. And you get even curl families from root to end. Learning How To Use A Curl Defining Brush Properly makes your results more consistent day after day.

Why Technique Matters For How To Use A Curl Defining Brush Properly
Hair is most shapeable when wet. Water swells the cuticle. As it dries, the shape you set becomes the shape you wear. A curl defining brush sets that shape with gentle tension and even product spread.
Good technique boosts:
- Definition because clumps stay together.
- Shine because aligned cuticles reflect light.
- Hold because gels coat each hair in the clump.
- Volume because you can lift at the root as you brush.
Poor technique can cause frizz, stringy ends, or product flakes. Mastering How To Use A Curl Defining Brush Properly fixes most of these issues before they happen.
Prep: Cleanse, Condition, Detangle, Then Product
How To Use A Curl Defining Brush Properly starts in the shower. Clean hair sets better. Slippery hair detangles faster. Product binds more evenly.
Follow this quick prep:
- Cleanse your scalp with a gentle shampoo or co-wash. Rinse well.
- Condition from mid-lengths down. Comb through with a wide-tooth comb. Rinse lightly for waves, more for coils if you like weightless feel.
- While hair is still soaking wet, apply a leave-in for slip.
- Add curl cream for moisture if you need it.
- Add gel or custard for hold. Keep hair glossy-wet. If it dries, re-wet with a spray bottle.
Pro tip from the chair: If your brush snags, you need more water or more slip. I keep a bowl of water nearby and dip sections before brushing.

How To Use A Curl Defining Brush Properly: A Step-by-Step Routine
Use this sequence for reliable, frizz-free results.
-
Section your hair
Create 4 to 8 sections. Clip each one. Smaller sections mean better control. -
Set your angle
Hold the section with light tension. Keep the brush at a slight downward angle if you want sleek clumps. Tilt up at the root for lift. -
Brush with intent
Start 1 inch from the root. Brush through to the ends in one smooth pass. Keep bristles facing you for more stretch, away from you for less stretch. -
Ribbon and twirl
After a pass, the hair will form ribbons. If you want tighter curls, split a ribbon and finger-coil the ends. Clip coils at the root to avoid dragging. -
Repeat and refine
Work around your head. Re-wet as needed. Add a pea of gel to frizzy areas. Do not over-brush. Two to three passes per section is plenty. -
Set the shape
Scrunch gently to encourage bounce. Stop once you see clumps spring. Then hands off. -
Dry right
Air dry or diffuse on low heat and low airflow. Do not break the gel cast until hair is 100% dry. -
Break the cast and fluff
Rub a drop of light oil between palms. Scrunch to soften. Shake the roots for volume. Avoid raking through clumps.
If you follow these steps, you are practicing How To Use A Curl Defining Brush Properly from start to finish.
Techniques by Curl Pattern and Length
Different textures like different tension and angles. Here is how I tailor How To Use A Curl Defining Brush Properly by type.
Wavy hair (2A–2C)
- Use lighter products. Think liquid gel or mousse.
- Brush outward and downward to keep waves loose.
- Scrunch more. Coil only face-framing pieces if you need extra pop.
Curly hair (3A–3C)
- Use cream under gel for frizz control.
- Brush in smaller sections for even clumps.
- Finger-twirl inconsistent curls only. Do not coil every strand.
Coily hair (4A–4C)
- Work soaking wet with rich leave-in and gel.
- Use very small sections. Brush with firm but gentle tension.
- Coil ends to seal. Clip roots for lift. Consider stretching with banding after drying.
Short hair
- Use micro-sections. Brush forward, then up for root lift.
- Define the hairline last for clean edges.
Long hair
- Support the ends with your hand while brushing to reduce stretch.
- Coil mid-lengths and ends if your curls drop fast.

Product Pairing That Makes Definition Last
The right product stack makes a bigger difference than you think. It also lets you repeat How To Use A Curl Defining Brush Properly with fewer touch-ups.
- Leave-in conditioner adds slip so the brush glides.
- Curl cream boosts moisture for soft clumps.
- Gel or custard locks the pattern and reduces halo frizz.
- Mousse gives airy volume for fine hair.
- A few drops of light oil help break the cast without frizz.
Look for humectants for hydration, film-formers for hold, and proteins for strength when needed. If your hair feels mushy, try a light protein gel. If it feels stiff, add more moisture under your gel.
Drying and Setting: Lock In The Shape You Brushed
Drying is where many people lose definition. The rule is simple: set, then do not disturb. This locks in all the work from How To Use A Curl Defining Brush Properly.
- Air dry if you want maximum clump size. Do not touch while drying.
- Diffuse on low heat and low airflow. Hover first, then cup and hold. Keep sessions short and rotate around your head.
- Plop for 5 to 10 minutes if you need lift, then diffuse.
- Leave the gel cast until fully dry. Break it with a drop of oil.
If you see frizz early, stop and re-wet that area. Add a tiny bit of gel and re-brush the ribbon. Then continue drying.

Troubleshooting: Fix Frizz, Stringiness, and Flakes
Even pros troubleshoot. Here is how to correct the most common pain points when learning How To Use A Curl Defining Brush Properly.
-
Frizz at the crown
You likely brushed too dry. Re-wet, add a dot of gel, and brush with smaller sections. -
Stringy ends
Add more water and less gel. Brush once and scrunch. Over-brushing can thin clumps. -
Flat roots
Brush upward and clip at the base while drying. Diffuse with head upside down in brief bursts. -
Flakes
Product mismatch. Use a leave-in and gel from the same line or test for mixability in your palm with a water drop. -
Crunchy feel
This is normal with gel. Break the cast fully with oil. If still stiff, use less gel next time.

Care, Cleaning, and Picking the Right Brush
Your brush needs care to stay smooth and gentle. Clean tools also help you repeat How To Use A Curl Defining Brush Properly with the same results.
- After styling, remove shed hair with your fingers.
- Wash the brush weekly with mild shampoo. Rinse well.
- Let it dry bristle-side down on a towel.
- Replace if bristles bend, scratch, or snag.
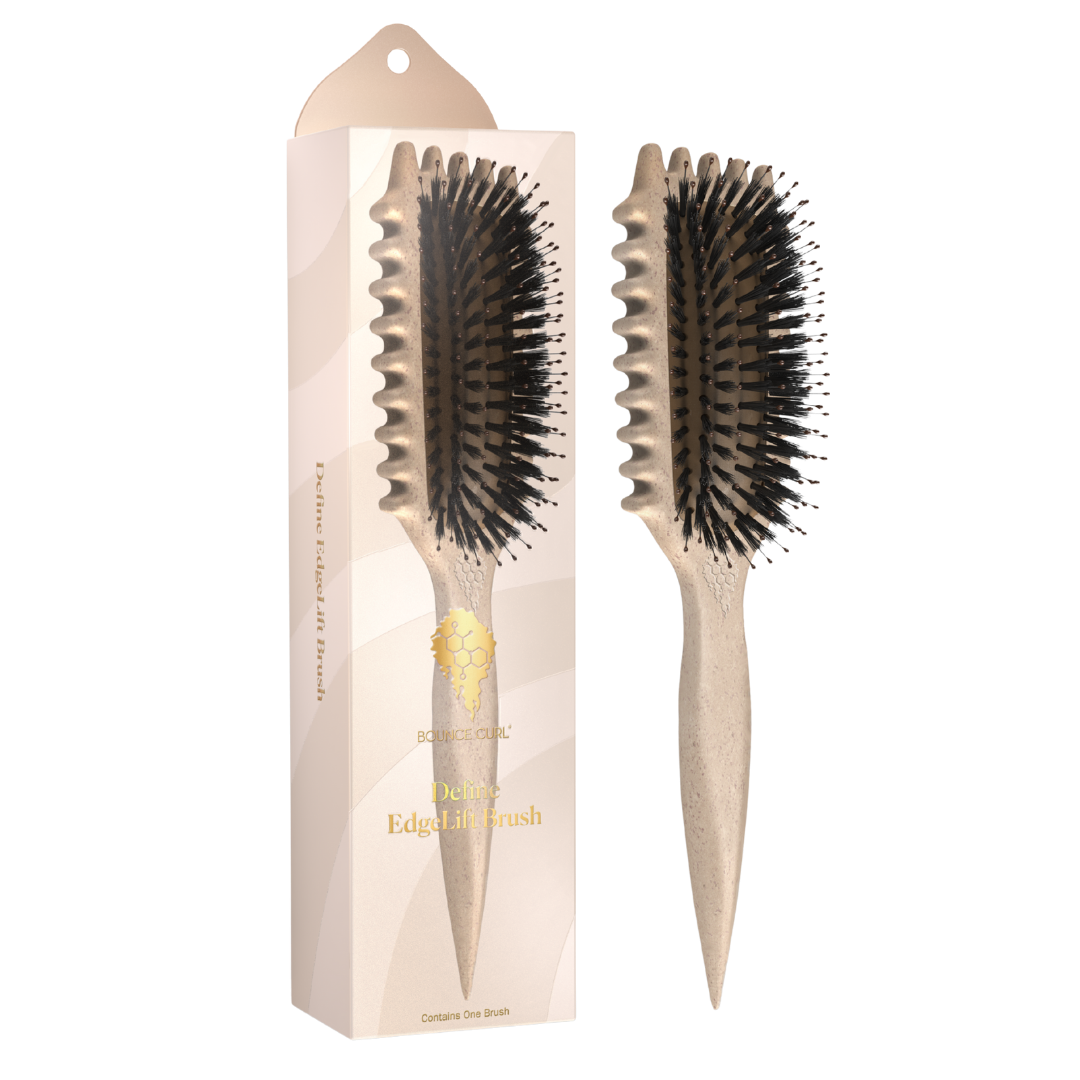
Choosing a brush:
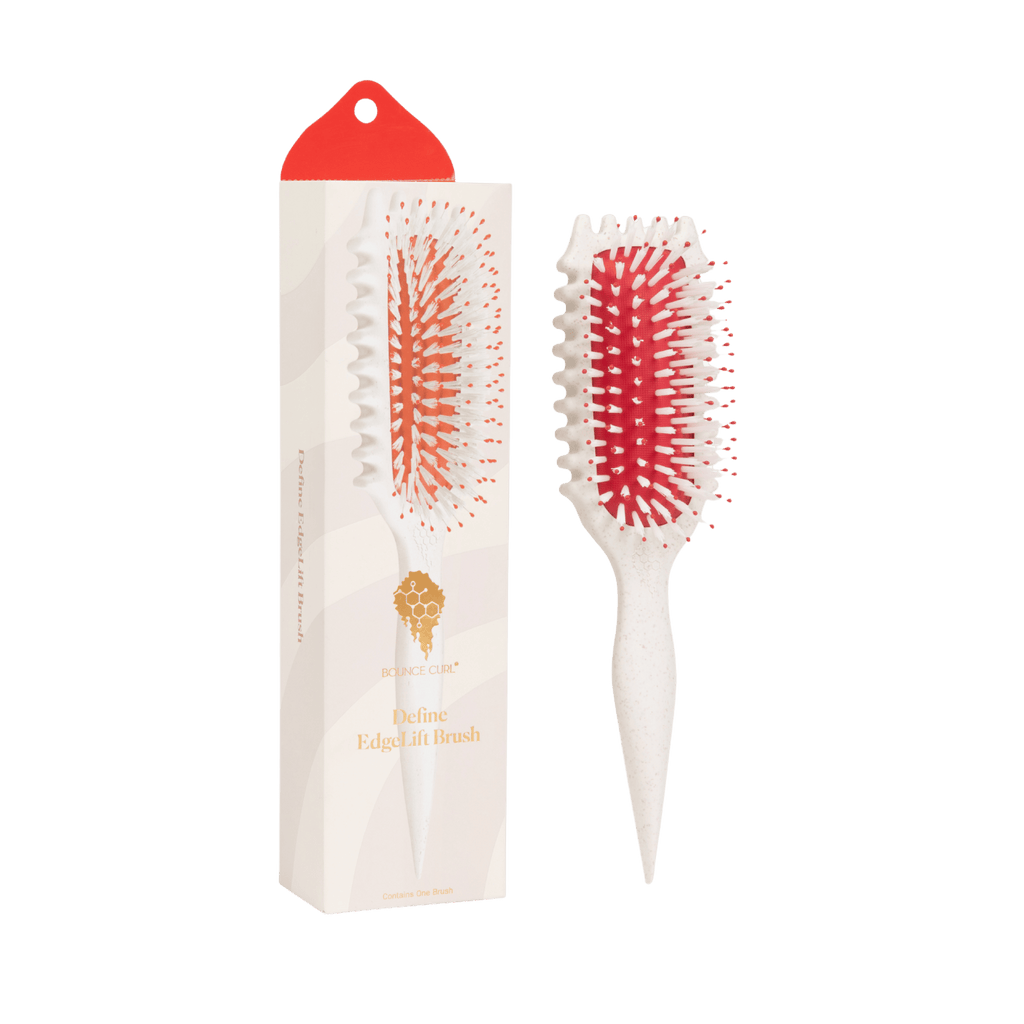
- Flexible rows help create ribbons.
- Rounded tips protect the scalp and cuticle.
- Wider spacing makes bigger clumps. Closer spacing gives tighter clumps.
- Comfortable handle helps you keep a steady angle.
Pro Tips From Behind the Chair
These small edits make a big impact when you practice How To Use A Curl Defining Brush Properly.
- Water is your best styling product. Keep hair at a glossy-wet level as you work.
- Two good passes beat ten light passes. Fewer strokes = fewer frizz points.
- Style your crown last. It dries fastest and needs the most water.
- For special events, coil face-framing curls and the top layer only. It saves time and looks polished.
- Track what you did. Note section size, angle, products, and drying method. Repeat what worked.
A quick story: I had a client with 3B curls who always fought a frizzy crown. We cut her section size in half, styled soaking wet, used a pea-sized gel per micro-section, and brushed the crown upward before clipping. She messaged later that week: zero halo, two extra days of hold, and the first time she loved day three hair. Small tweaks, big win.
Frequently Asked Questions of How To Use A Curl Defining Brush Properly
How often should I use a curl defining brush?
You can use it every wash day. If you refresh midweek, use water and a small amount of gel, then brush only the fuzzy sections.
Can I use a curl defining brush on dry hair?
It is best on wet hair. If dry, mist heavily until damp with good slip to avoid breakage and frizz.
Do I need gel, or will cream be enough?
Gel gives longer hold and frizz control. Cream alone is fine for soft waves, but most curls benefit from a light gel layer.
Will a curl defining brush make my hair look thinner?
No, but over-brushing can split clumps. Use fewer passes and scrunch to keep volume.
What is the best way to diffuse after brushing?
Low heat and low airflow. Hover first, then cup gently, and stop touching once the cast starts to form.
Conclusion
You now have a clear path to smooth, springy curls: prep on wet hair, apply slip and hold, brush with intent, set the shape, and dry without disturbance. With practice, How To Use A Curl Defining Brush Properly becomes a fast, repeatable routine that fits your life.
Try the steps on your next wash day. Keep notes, tweak one variable at a time, and celebrate the wins. Ready for more curl care guides and product breakouts? Subscribe, share your results, or drop your questions in the comments.