
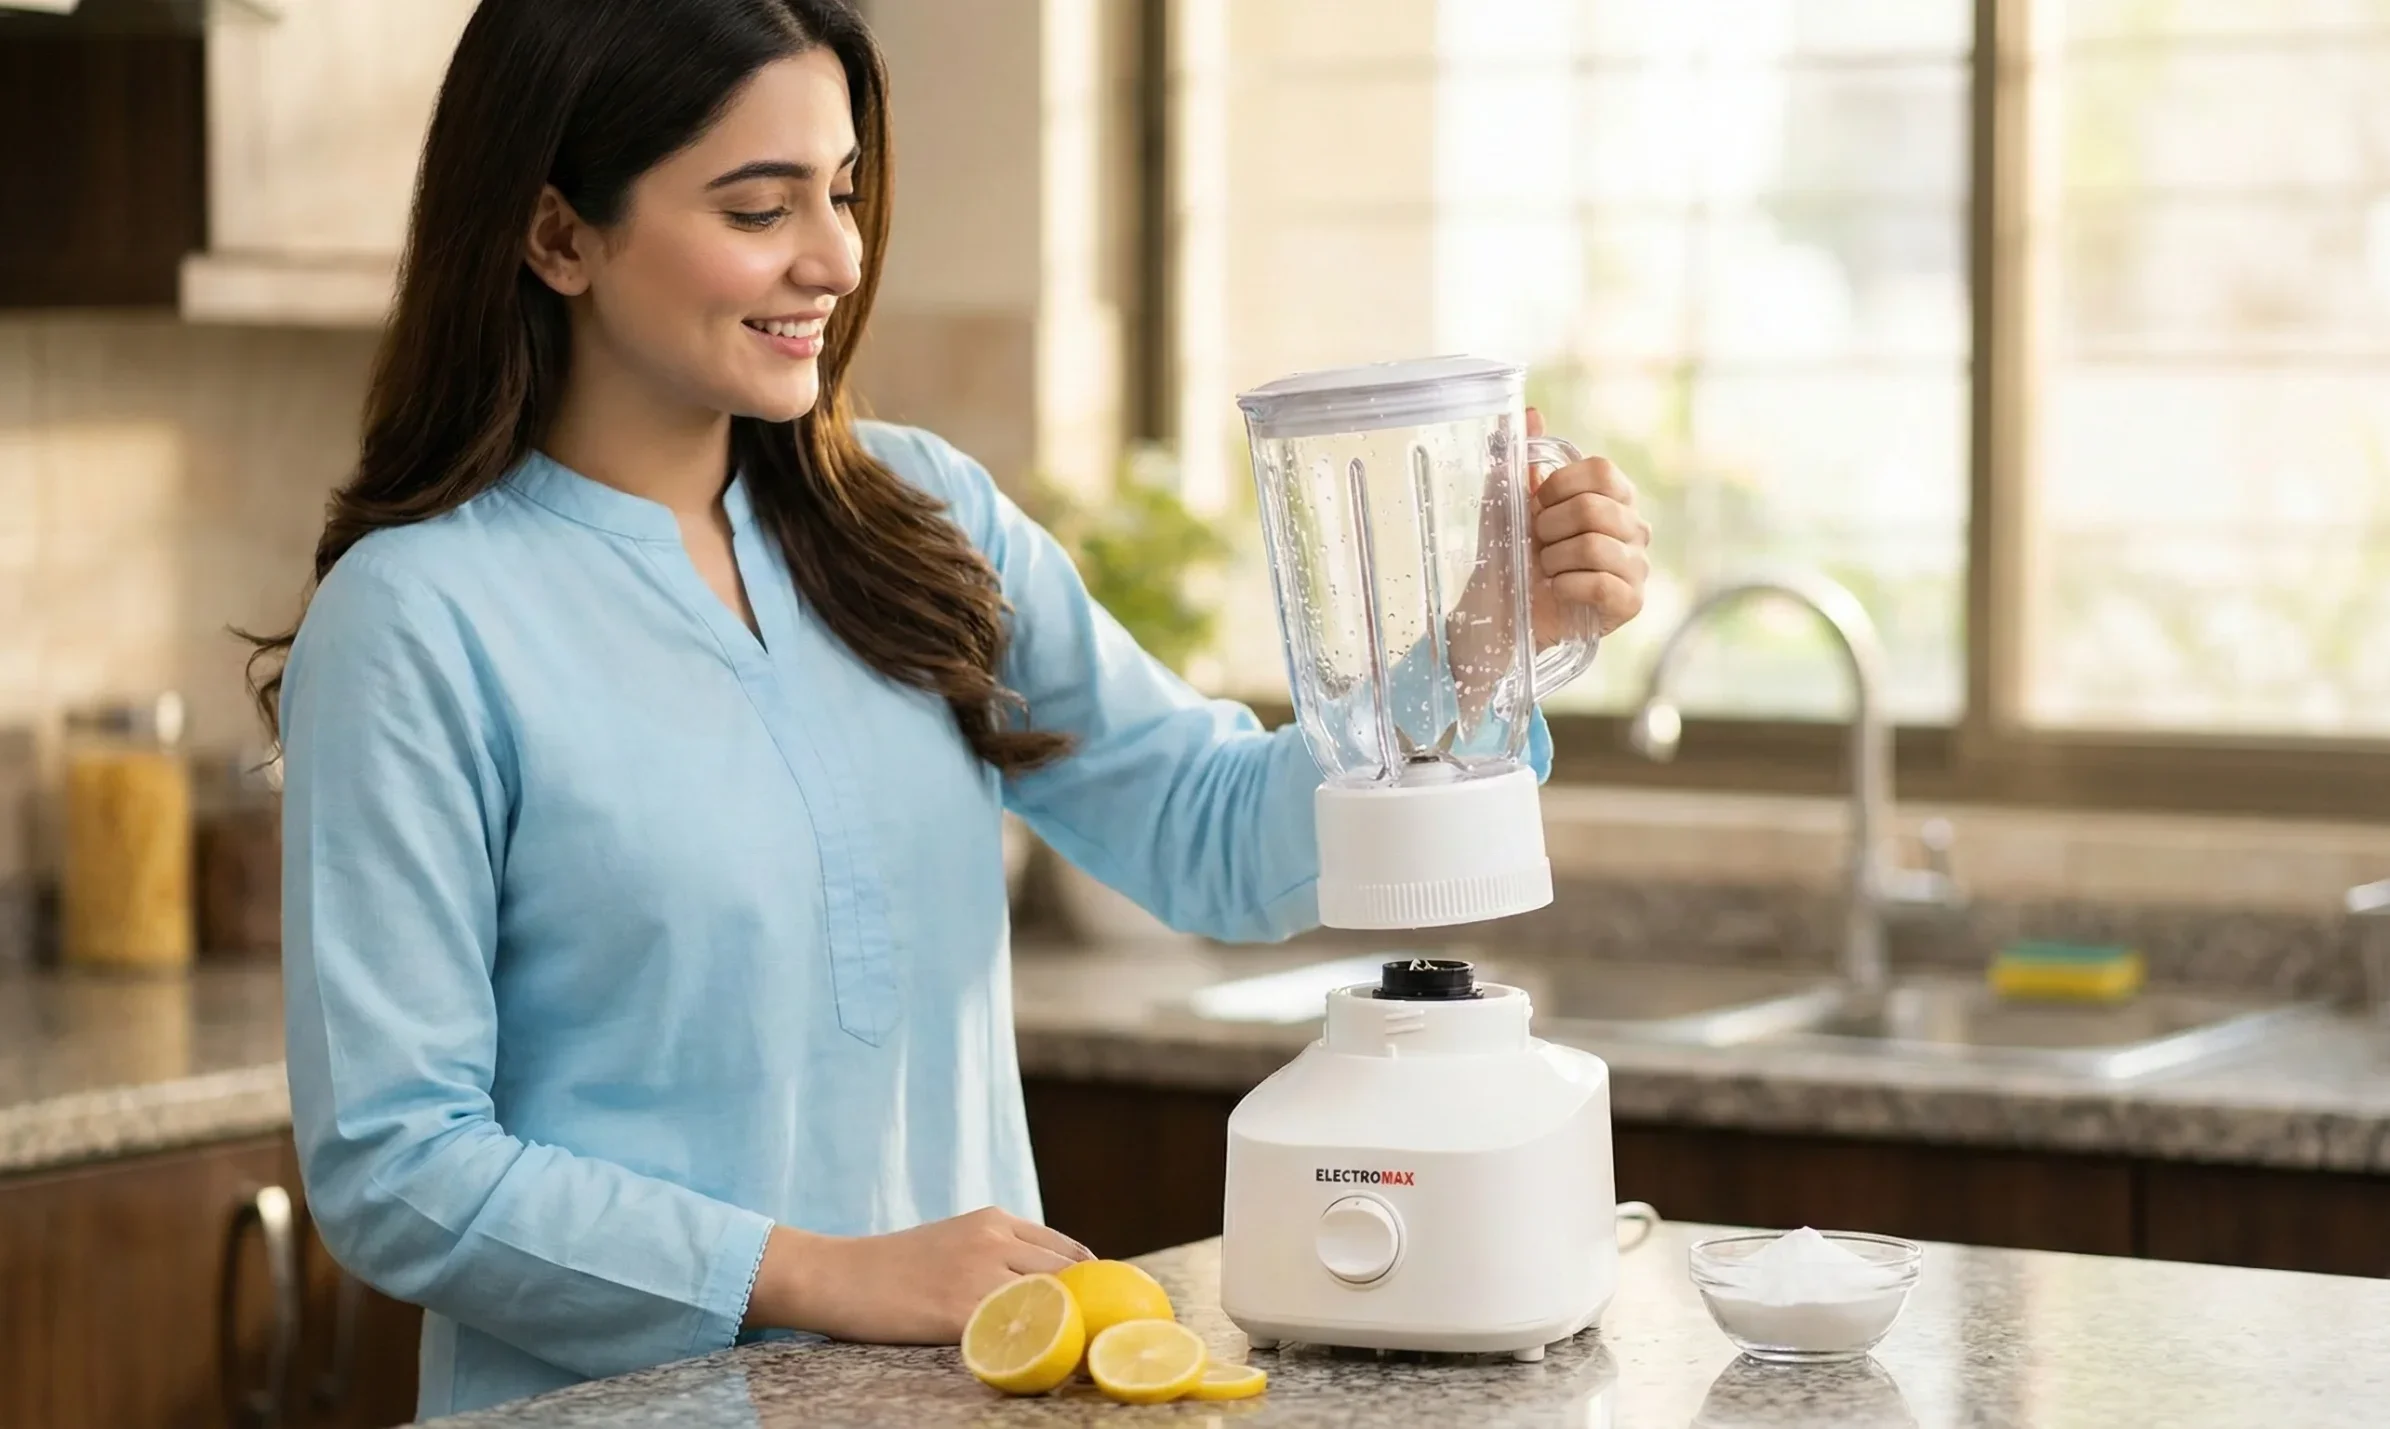
Fill half with warm soapy water, blend 30 seconds, rinse, and air-dry.
That is the fast version. But if you want your blender to stay clear, odor-free, and safe, you need a routine that works every time. I test blenders often, and I’ve learned How To Clean A Blender Properly in a way that saves time and protects parts. In this guide, I’ll show you simple daily habits, deep-clean tricks, and expert fixes for stains, smells, and leaks. Read on, and your blender will look and run like new.
:max_bytes(150000):strip_icc()/GettyImages-1322052001-dd45ef51e4c646f09286b7bd52e81953.jpg)
Why A Clean Blender Matters
A clean blender is safer and tastes better. Old food hides in the gasket and under the blade. That can grow bacteria and cause odors. A dirty jar also makes smoothies gritty and dull.
How To Clean A Blender Properly is not about scrubbing harder. It is about simple steps at the right time. You will protect the blade, seal, and motor. You will also keep plastic clear and glass bright.
Safety First: What Not To Do
Always unplug before you clean. The blade is sharp, so handle it by the base, not the edges. Never submerge the motor base in water.
Avoid strong abrasives on plastic jars. Do not soak metal parts overnight. Heat can warp plastic and damage seals. Follow these rules and you are already halfway to How To Clean A Blender Properly.

What You’ll Need
- Dish soap that cuts grease. It lifts oils fast.
- Warm water. It loosens stuck food.
- White vinegar. It removes odors and film.
- Baking soda. It scrubs gently and brightens.
- Lemon. It helps lift stains and freshen scent.
- Bottle brush or soft sponge. It reaches the corners.
- Old toothbrush or small detail brush. It cleans the gasket and threads.
- Microfiber cloth. It leaves a streak-free finish.
- Cotton swabs or a toothpick. It clears crevices on lids and bases.
- Optional sanitizer. A mild bleach mix can sanitize when needed. Use 1 tablespoon of unscented bleach in 1 gallon of water, then rinse well.
These simple tools make How To Clean A Blender Properly easy and fast.
The 60-Second Daily Clean (After Every Use)
- Rinse the jar right away with warm water. Do not let food dry on.
- Fill halfway with warm water and a drop of dish soap.
- Secure the lid, then blend on low for 20 to 30 seconds.
- Dump, rinse well, and shake off water.
- Separate the lid parts and gasket if they come apart. Rinse and set to dry.
- Air-dry upside down on a rack. Leave the lid open to vent.
Tip from my kitchen: If you made nut butter or hot soup, add a teaspoon of vinegar to the soapy blend. It cuts oil fast. This quick routine is the core of How To Clean A Blender Properly.
Deep-Clean Method (Weekly or After Sticky Messes)
- Disassemble the jar, blade, collar, and gasket. Check your manual for how.
- Soak jar, lid parts, and gasket for 10 to 15 minutes in warm, soapy water.
- Scrub the gasket channel and threads with a toothbrush. This is where grime hides.
- Clean the blade carefully. Hold the base and wipe the edges with a sponge from the center out.
- For buildup, blend 1 cup warm water with 1 tablespoon baking soda for 20 seconds, then rinse.
- For tough film, soak the jar in a 1:1 mix of white vinegar and warm water for 10 minutes, then rinse.
- Dry all parts fully before reassembly. Moisture trapped under the gasket can smell.
When you want How To Clean A Blender Properly with no guesswork, this is the method I use.

Remove Odors, Cloudiness, and Stains
- Onion or garlic smell. Blend warm water with 2 tablespoons baking soda. Let sit 10 minutes. Rinse.
- Cloudy plastic film. Soak in a 1:1 vinegar and water bath for 15 minutes. Rinse and buff with a soft cloth.
- Turmeric or berry stains. Make a baking soda paste. Spread, wait 10 minutes, then rinse. Sun-dry near a window to fade stains.
- Greasy residue. A drop of dish soap plus a splash of vinegar in warm water breaks it down.
- Fine polish trick. Blend a small handful of uncooked rice with warm soapy water for 10 seconds to gently buff the jar. Do not use with glass jars if the maker warns against it.
These fixes are safe and align with How To Clean A Blender Properly for both plastic and glass jars.

Caring For Gaskets, Blades, and Jars
Inspect the gasket each week. If it is cracked, stretched, or smells even after washing, replace it. Most gaskets are cheap and easy to swap.
Do not try to sharpen modern blender blades. If they are dull, bent, or rusted, replace the blade unit. To protect plastic jars, avoid harsh abrasives and boiling water. For glass jars, avoid sudden temp changes. This gear care is part of How To Clean A Blender Properly and keeps leaks away.

Clean The Motor Base and Controls
Unplug the base. Wipe with a damp cloth and mild soap. Keep water out of vents and buttons.
Use cotton swabs to clean around switches and the jar coupler. A dry brush helps remove crumbs. Never spray cleaner straight on the base. Gentle care here supports How To Clean A Blender Properly without risk to the motor.

Dishwasher vs Hand Wash
Check your manual. Many jars, lids, and gaskets are top-rack safe. Hand wash lasts longer, especially for plastic.
High heat can warp lids and dull blades. If you use a dishwasher, skip heated dry for plastic parts. Hand wash is my pick for How To Clean A Blender Properly if you want long life and clear jars.
Maintenance Schedule and Pro Tips
- After each use. Do the 60-second soapy blend and rinse.
- Weekly. Deep clean, scrub the gasket channel, and check for wear.
- Monthly. Deodorize with vinegar and water. Inspect blade and seal.
Pro tips I use every day:
- Pre-rinse right after pouring. Dried smoothie is the enemy.
- Store with lid off or ajar. That stops trapped smells.
- Add liquid first when blending. It reduces splatter up the sides.
- Mark a reminder to replace gaskets every 6 to 12 months, depending on use.
Follow this plan and you are practicing How To Clean A Blender Properly with no extra effort.
Troubleshooting Common Cleaning Problems
- Cloudy plastic that will not clear. Try a longer vinegar soak, then a baking soda paste. If haze remains, it may be micro-scratches. Replace if it bothers you.
- Stuck nut butter. Fill with warm soapy water and let sit 15 minutes. Then blend on low and use a bottle brush.
- Lingering fish or onion smell. Blend warm water, baking soda, and a few lemon slices for 20 seconds. Air-dry open overnight.
- Rust spots on blade. Light surface rust may wipe off with baking soda paste. Deep rust means it is time to replace the blade unit.
- Leaks after cleaning. Reseat the gasket flat-side down, tighten the collar, and test with water. If it still leaks, replace the gasket. This check is key to How To Clean A Blender Properly and safely.
Frequently Asked Questions of How To Clean A Blender Properly
How often should I deep clean a blender?
Do a deep clean once a week if you blend daily. If you blend sticky or savory foods, deep clean right after use.
Can I put blender blades in the dishwasher?
Many blade units are dishwasher safe on the top rack. Hand washing keeps them sharp longer, so I prefer that.
What is the safest way to handle sharp blades?
Hold the blade by the base, not the edges. Use a sponge and wipe from the center out to avoid cuts.
How do I get rid of turmeric stains?
Use a baking soda paste and let it sit 10 minutes, then rinse. Sunlight helps fade the yellow tint over time.
Is it okay to use bleach to sanitize a blender?
Yes, in the right dilution. Use 1 tablespoon of unscented bleach in 1 gallon of water, soak briefly, then rinse very well.
Why does my blender smell even after washing?
Odors often hide under the gasket. Remove it, clean the channel, and air-dry the parts fully.
Can I clean a blender with boiling water?
Avoid boiling water, especially with plastic jars. Very hot water can warp parts and damage seals.
Conclusion
You now have a simple plan to keep your blender fresh, clear, and safe. Do the quick daily blend, deep clean once a week, and watch the gasket and blade. That is How To Clean A Blender Properly without stress or wasted time.
Pick one tip to start today, like the 60-second clean, and build from there. Your smoothies will taste better, and your blender will last longer. Want more kitchen care guides like this? Subscribe and share your questions in the comments.